Creating The Ultimate Apartment Turnover Checklist | Property Manager Explains
As a property manager, I’ve handled hundreds of tenant turnovers over the years. Trust me, the process gets messy fast without a solid plan in place. That’s precisely why creating an apartment turnover checklist matters so much. It keeps you organized and saves valuable time between tenants leaving and new ones arriving. We’ve refined our apartment turnover checklist approach through lots of trial and error. Now we follow the same proven steps every single time. This consistency helps us prepare units faster and avoid costly mistakes. Let me walk you through how we pros build an apartment turnover checklist that actually works.

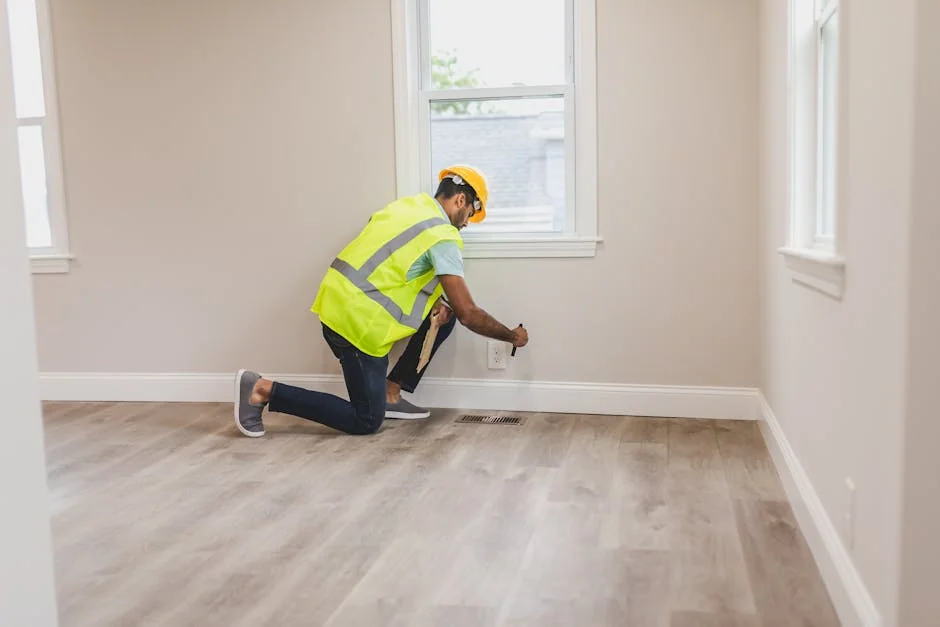
Step 1 - Build Your Apartment Turnover Checklist, Starting with Move-Out Inspection
Every great apartment turnover checklist begins with a thorough move-out inspection. We schedule this walk-through before the tenant turnover is complete, whenever possible. This timing lets outgoing tenants address any issues right away. You want to check every single room, closet, and corner carefully during this inspection. Don’t rush through it or you’ll miss important details.
During the walk-through, compare the unit’s current condition against the original move-in documentation. Look for damage that goes beyond normal wear and tear. Check walls for holes, floors for scratches, and fixtures for any apparent problems. Document everything you find with photos and detailed written notes. This inspection step forms the solid foundation of your apartment turnover checklist. Getting this part right makes the rest of the turnover process flow much smoother. We’ve found that rushing here leads to expensive surprises later.
Step 2 - Add All Necessary Repairs to Your Turnover Process
Once you complete the move-out inspection, list every repair needed on your apartment turnover checklist. We always prioritize repairs based on urgency and cost factors. Safety issues come first without exception. Think broken locks, electrical problems, or tripping hazards that could hurt someone. Then move on to cosmetic fixes that affect the unit’s overall appeal to prospective renters.
Your apartment turnover checklist should include specific repair categories to stay organized. Think about walls that need patching or fresh paint to look new again. Check all door handles, light switches, and cabinet hinges for proper function. Don’t forget common plumbing issues like dripping faucets or running toilets, either. As a property manager, I’ve learned to tackle repairs in a logical order. This organized approach prevents contractors from bumping into each other during turnover. It also helps you track costs accurately for each unit.
Step 3 - Include Turnover Cleaning in Your Apartment Turnover Checklist
Here’s where many landlords cut corners, and honestly, it shows immediately. Professional turnover cleaning makes a huge difference in those crucial first impressions. We never skip this on our apartment turnover checklist, no matter how clean things might look initially. Even units that appear tidy need deep cleaning between tenants to really shine.
Our cleaning checklist covers every single surface in the unit. Here’s what we always include for apartment turnover cleaning:
- Deep clean all kitchen appliances inside and out
- Scrub bathrooms, including grout lines and all fixtures
- Wash windows and window tracks thoroughly
- Clean inside every cabinet and closet space
- Steam clean carpets or mop and polish hard floors
New tenants notice dirty details right away when they walk in. A spotless unit shows you genuinely care about your property and your renters. Adding thorough cleaning to your apartment turnover checklist sets you apart from other landlords. The small investment pays off in happier tenants and far fewer early complaints about cleanliness issues.

Step 4 - Test Every Appliance Before the New Tenant Arrives
Testing each appliance belongs on every apartment turnover checklist without question. We’ve learned this lesson the hard way over many years of managing properties. Nothing creates tenant frustration faster than a broken appliance discovered on move-in day. These problems damage your relationship with renters right from the very start.
Run through every appliance in the unit systematically to catch problems early. Turn on all stove burners and test the oven at different temperatures. Check that the refrigerator cools properly and the freezer actually freezes things solid. Run the dishwasher through one complete cycle while you’re working. Test the garbage disposal and the range hood fan to ensure they function. If your unit has a washer and dryer, run those through test cycles too. This appliance testing takes 30 minutes total, but saves major headaches later. Your apartment turnover checklist isn’t complete without this critical verification step included.
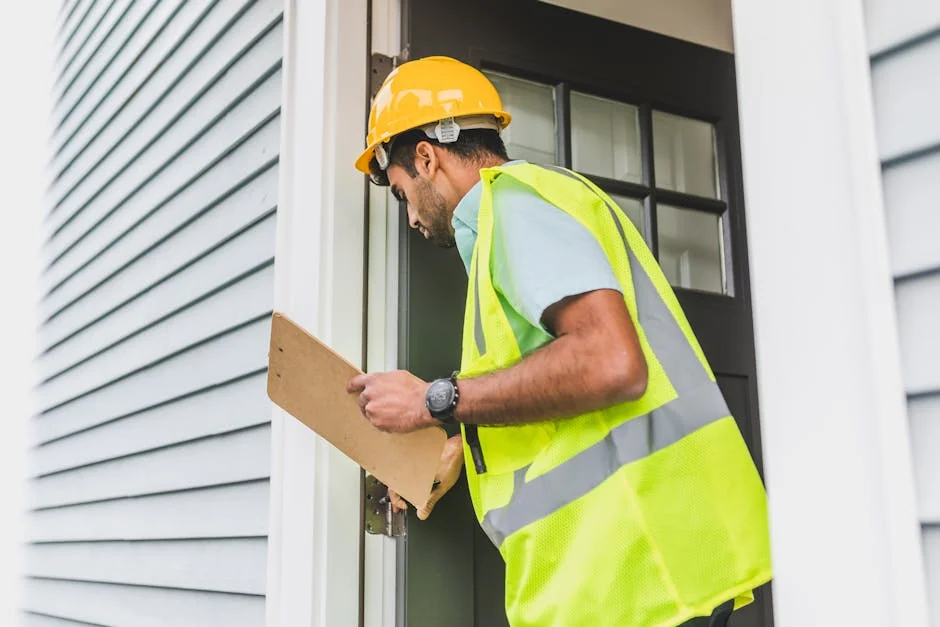
Step 5 - Finalize Your Apartment Turnover Checklist and Hand Over the Keys
You’re almost ready to hand over the keys to your excited new tenant. But first, take time for one final thorough walk-through of the entire space. Use your apartment turnover checklist to verify that every single item has been appropriately completed and checked off.
Confirm that all repairs look good and the cleaning meets your high standards. Test every lock and gather all necessary keys for the handoff to your new renter. Check all smoke and carbon monoxide detectors and replace batteries if needed. We also confirm utilities are correctly set up and ready for transfer on move-in day. The apartment turnover checklist keeps this final stage organized and completely stress-free for everyone. When everything checks out perfectly, you can confidently welcome your new tenant home. Following these exact steps consistently makes you a true pro at handling tenant turnover. Your completed apartment turnover checklist serves as solid proof of a job well done every time.
FAQs
Q: How long does a typical apartment turnover take from start to finish?
A: Most turnovers take between 3 and 7 days, depending on the unit’s condition. Simple turnovers with minimal repairs might wrap up in 2-3 days. Units needing significant work, such as painting or flooring repairs, can take 10 days or more. Having your checklist ready speeds things up considerably. We’ve cut our average turnover time by planning.
Q: Should I hire professional cleaners or handle turnover cleaning myself?
A: Professional cleaners are worth the investment for most landlords. They have commercial equipment and products that achieve deeper results faster. Expect to pay between $150 and $300 for a standard unit. The cost often pays for itself through better tenant satisfaction and fewer cleaning complaints. We use pros for every single turnover now.
Q: What repairs should I prioritize during the turnover process?
A: Always address safety issues first, including locks, smoke detectors, and electrical problems. Next, tackle functional repairs, such as plumbing leaks or broken appliances. Finally, handle cosmetic updates such as paint touch-ups and minor damage. This priority order keeps tenants safe while making the unit attractive. Budget your repair funds accordingly.
Q: How detailed should my move-out inspection documentation be?
A: Very detailed. Take photos of every room from multiple angles. Document any damage with close-up shots and written descriptions. Compare everything to the move-in pictures if you have them. This documentation protects you during security deposit disputes. We use a standardized inspection form for consistency across all our properties.
Q: Can I start showing the unit before completing my turnover checklist?
A: Yes, but be upfront with prospective tenants about the timeline. Show the unit during the cleaning or repair phase if needed. Just explain when it will be fully ready for move-in. Some tenants actually appreciate seeing the care you put into preparation. We often book tenants before turnovers are fully complete.
Q: What's the biggest mistake landlords make during apartment turnovers?
A: Rushing through the process to minimize vacancy days. This leads to missed repairs, inadequate cleaning, and unhappy tenants. Taking a few extra days upfront prevents maintenance calls and complaints later. A thorough turnover actually saves money over the lease term. We’ve learned patience pays off every time.